
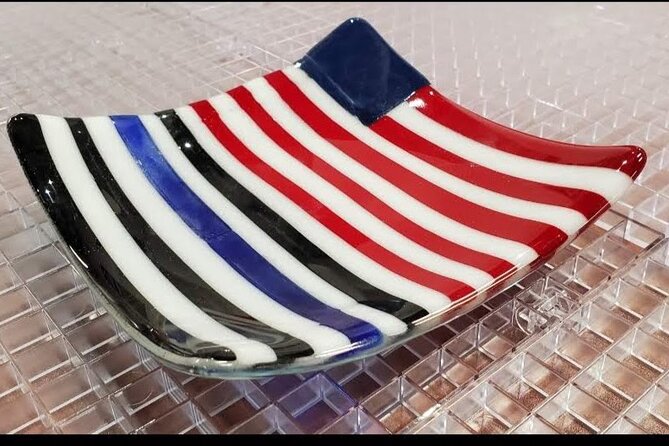
REVIEW · SEATTLE COOKING & CRAFT CLASSES
Break It and Make It: A Glass Fusing Session in Everett
Want to smash something, nicely? This glass fusing session in Everett turns that fun impulse into a guided project, where you break glass, design a layout, and get it fired into a real piece of fused art.
I love how the class is step-by-step and welcomes beginners, including folks who want a refresher. The one consideration is you do not leave with the final fired tile, since it takes a few weeks to be ready for pickup or shipping.
Quick hits that matter
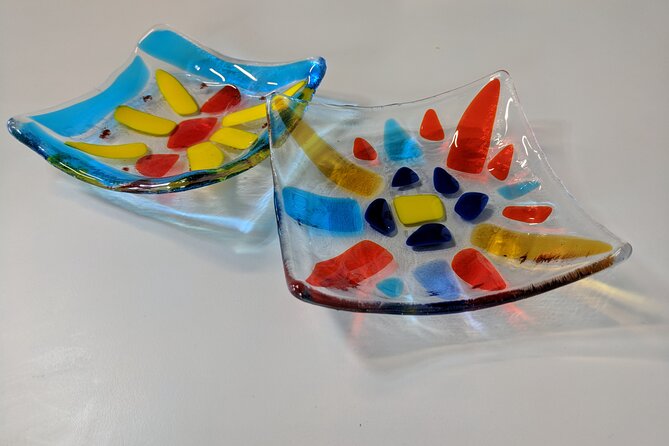
- Small group size: up to 6 people, so you get real attention.
- Materials included: you get a 6-inch square clear glass, cutting tools, and supplies.
- Color access: dozens of transparent and opaque glasses to build your design from.
- Beginner and refresher friendly: step-by-step guidance for first-timers.
- Studio does the firing: your piece is fired after class, then ready later for pickup or shipment.
- You can be creative as an adult: the class keeps it playful, not precious.
What you make at FEELartistic: a 6-inch contemporary fused-glass piece
The whole point of Break It and Make It is simple. In about 1 hour 30 minutes, you create the design base for a 6-inch fused-glass artwork. You start with a clear square, then you break other glass into pieces and place them to build your pattern.
The style is described as contemporary, and that matters for expectations. You are not doing something ultra-technical or tiny mosaic work. Instead, you’re making a bold, modern-looking tile that works as a decorative piece, and it is sized so you can finish a complete idea within one session.
Even though your finished version is produced later after firing, you still leave class with a design you planned and assembled. That blend, hands-on making now and finishing later, is the main rhythm of this experience.
One more practical note I like: the class is open to all, so you do not have to arrive knowing anything about glass. If you’ve taken beginning classes before, it also works as a refresher because the teaching is very structured.
Still deciding? These Seattle bookings are the ones travellers keep coming back to.



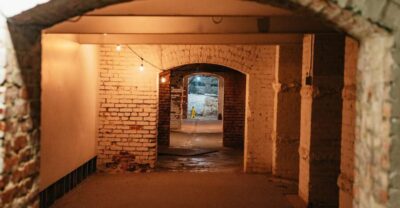
Where to start in Everett, and how the 1.5 hours flows
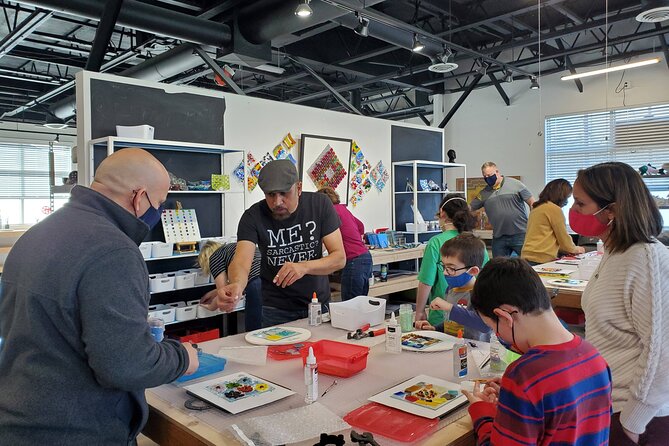
You meet at FEELartistic Studio, 10333 19th Ave SE Ste 101, Suite 101, Everett, WA 98208. The activity starts there and ends back at the same meeting point, so you are not wandering all over town during the workshop.
The session runs about 1 hour 30 minutes. That timing is ideal if you want something creative without losing half your day. It also helps you plan your broader Seattle trip, because Everett is close enough that you can build a day around the class without it swallowing the schedule.
Most people can participate, and the studio is near public transportation. That means you do not need a car to make this work. You’ll just want to give yourself a little cushion so you arrive relaxed, not rushed.
Also, the studio keeps the group small, with a maximum of 6 travelers. That small size is a big deal for a hands-on art class. It usually means you can ask questions when you get stuck, and the instructor can check your progress without you waiting in line.
The best part: breaking glass with step-by-step guidance
This class is built around the idea that making fused glass starts with breaking. You are given clear instruction, and you follow a sequence that takes you from tools and materials to an actual design plan.
That structure is exactly why I think it’s a smart choice for beginners. If you’ve never worked with glass before, the fear is real. The step-by-step approach reduces guesswork. Instead of wondering what you are supposed to do, you’re following directions and watching how it’s done.
In the small-group setting, the instructor can also adjust on the fly. One name that comes up is Jay, praised for clear instructions. Even if you are not familiar with the studio, having a teacher who can explain the process in a way that clicks is often the difference between a frustrating craft project and a fun one.
And yes, breaking glass can feel like a kid’s activity, which is part of the charm. The class gives you permission to be playful while still being intentional. That balance is what makes adults enjoy it, especially if you do not usually get chances to create just for fun.
Your color library: dozens of transparent and opaque options
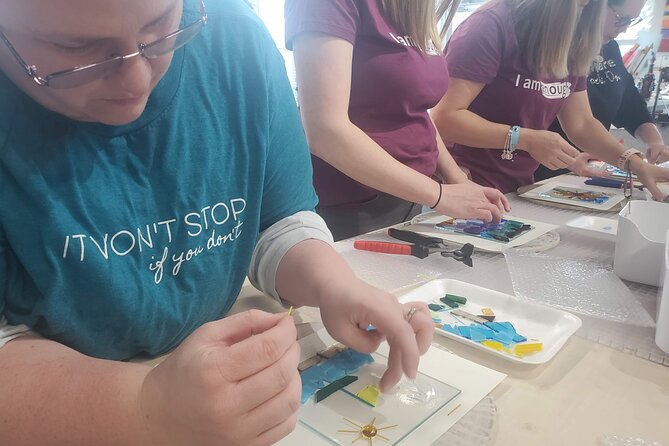
After the intro, you get the core kit: a 6-inch square clear glass, cutting tools, and supplies. Then you move into color choices. The studio provides access to dozens of colorful glasses, including both transparent and opaque options.
This is where the class can swing from basic to personal. Two people can follow the same steps and still end up with completely different looks just based on how they choose colors and how they place the broken shards.
One caution I’d call out from the experience: a participant felt there could be more glass color variety. Since the studio says there are dozens of options, you’ll likely find plenty to work with. Still, if you’re the type who has very specific color visions, give yourself time to sift through choices during class rather than rushing.
Tip that helps: think about contrast early. Transparent pieces look different than opaque ones once fired. If you mix them, your design can get depth. If you keep everything the same opacity, the piece can look flatter but still stylish. Either approach can be contemporary, it’s just a different vibe.
Designing your layout on the flat clear base
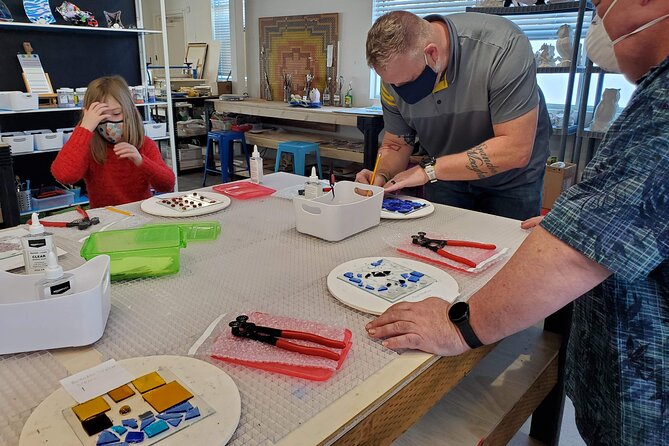
Once you have your clear base, the class guides you through a few techniques so you can build a layout before firing. You break the glass into smaller pieces and design it directly on the flat clear glass.
This is your creative checkpoint. The instructor shows you how to place pieces, but you’re the one making the calls. Do you want scattered shards for a fractured look? Do you want more clustered shapes? Do you prefer bold blocks of color or gentle gradients?
I like this part because it shifts you from doing tasks to making decisions. You’re not just assembling. You’re composing. That’s why people who enjoy art but do not have much crafting confidence tend to have a good time here.
And because it’s a class with a deadline, you’re not stuck in the endless planning trap. In about 1.5 hours, you go from blank to a finished layout that the studio can fire.
What happens after class: firing, pickup, or shipping later
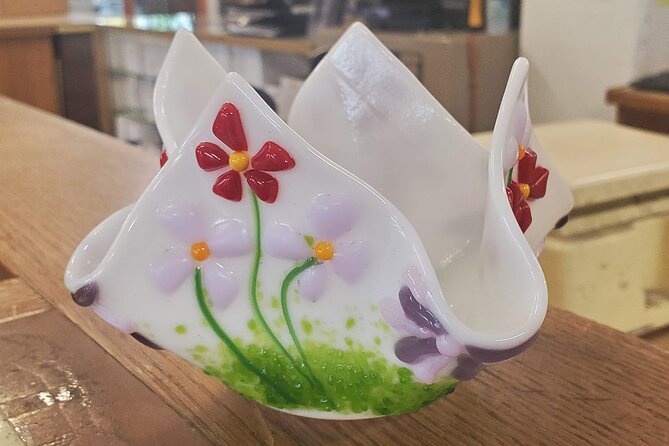
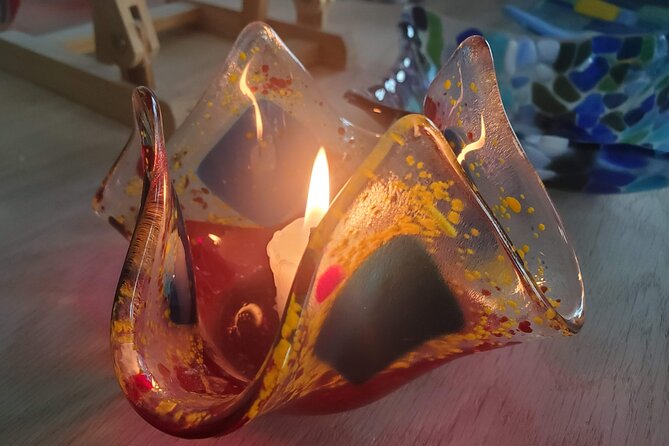
Here’s the key timeline: the studio fires your flat tile creation after class. You will have it ready to pick up or ship in a few weeks.
That is the trade-off. The experience is only 1 hour 30 minutes, but the final transformation takes time in the kiln and the studio process that follows. So plan on waiting if you were hoping to hang it immediately.
If you’re taking this as a gift, it can still work well. You’ll just need to time it around when you need the finished piece. Shipping might be a good option if pickup is inconvenient, but the concrete timing is described as a few weeks, so keep a buffer.
This is also a practical benefit: you don’t need to worry about the firing steps. All you do is create the design layout during class. The studio takes the heavy lifting from there.
- Beneath The Streets Underground History Tour★ 4.5 · 8,006 reviews
- Chef Guided Food Tour of Pike Place Market★ 5.0 · 3,733 reviews
- Mt. Rainier National Park Highlights Tour★ 5.0 · 3,156 reviews
Price and value: why $79 makes sense for a guided, materials-included workshop
The price is $79.00 per person for about 1 hour 30 minutes. On its face, it’s not a “cheap hobby night.” But for what you get, it often feels fair.
You’re paying for:
- instruction from a teacher who helps you make real art
- materials, including a 6-inch glass square and tools and supplies
- access to a wide selection of glass colors
- the studio’s firing work after class
Most do-it-yourself crafts require you to buy supplies and still figure out the finishing steps. Here, the studio handles firing, which is usually the hardest part to manage on your own.
Also, the group limit of 6 supports the value. With a larger class, you can lose time asking questions. With a smaller group, you’re more likely to leave with a design you feel good about and understand what to do next time.
If you’re comparing against other creative workshops, I’d frame this as a guided craft plus a later studio production step. That makes the $79 feel less like paying for “watching,” and more like paying for a complete experience from design to fired outcome.
Who this glass fusing class fits best, and who might hesitate
This experience is ideal for:
- beginners who want clear steps and a friendly pace
- adults who like creativity but do not usually make time for it
- families and groups who want a shared activity that does not require prior skills
- people who want a refresher if they have done beginning glass work before
It might be less ideal if:
- you need a finished item to take home the same day
- you’re very time-sensitive and cannot wait for a few weeks for firing
- you want a lesson focused only on theory rather than hands-on making (this class is about doing)
For most people, the biggest advantage is that the barrier to entry is low. You can be creative without becoming a glass expert overnight.
And if you want a specific “I can do this” confidence boost, this class offers it by walking you through breaking and designing with structure.
Getting the timing right for a Seattle-area trip
This class is booked on average 13 days in advance, which tells me it’s popular enough that you should not wait for last minute plans. If you’re traveling and you want a specific date, booking earlier gives you better odds.
Since the class runs 1 hour 30 minutes, it’s easy to pair with other Everett or Seattle activities. Just remember the studio firing happens later. So your day is about making the layout and planning your design, not about celebrating the final fired piece on the spot.
One more scheduling reality: the experience requires good weather. That’s listed as a requirement in the cancellation terms, so if the area has poor conditions, you may be offered a different date or a refund. Plan like a pro, and do not schedule your class as the single make-or-break plan of your trip.
Should you book Break It and Make It in Everett?
Book it if you want a hands-on glass project that is beginner-friendly, small-group, and guided from blank glass to a real fused-glass design. I think it’s a strong choice for adults who want creative play, and it also works nicely for families because everyone can participate without needing prior glass skills.
Skip it or think twice if you need the finished fired piece right away. The waiting period is the main trade-off, since you get pickup or shipping in a few weeks.
If your goal is to learn how the process works, build confidence with breaking and layout, and end up with something you can keep (or gift) after firing, this class is a smart use of time near Seattle.
FAQ
How much does Break It and Make it cost?
It costs $79.00 per person.
How long is the glass fusing class?
The class is approximately 1 hour 30 minutes.
What size glass piece do I make?
You will make a 6-inch square fused-glass piece.
Is the class suitable for beginners?
Yes. Break it and Make it is open to all and is described as ideal for beginners and for people who want a refresher after beginning classes.
What materials and tools are provided?
Each participant receives the 6-inch square clear glass, cutting tools, and supplies, plus access to colorful glasses to use for your design.
What happens to your artwork after class?
Your flat tile creation is fired by the studio and is ready to pick up or ship in a few weeks.
How big is the class?
The class has a maximum of 6 travelers.
Is the class offered in English?
Yes, it is offered in English and you receive a mobile ticket. Confirmation is received at booking.
What is the cancellation policy, and what if weather is bad?
You can cancel for a full refund up to 24 hours before the experience start time. The experience requires good weather, and if it is canceled due to poor weather, you will be offered a different date or a full refund.
More Tour Reviews in Seattle




Newest on the Seattle desk
- Seattle: Twilight Tour and Olympic National Park
★ 5.0 · 3 reviews - Where the Hops Grow! Yakima Brewery Tour
★ 5.0 · 3 reviews - Forks Town, Twilight Movie, Olympic Small Group 1 Day Tour
★ 5.0 · 3 reviews - Tacoma & Gig Harbor Hotel Transportation To/From Seattle Airport
★ 5.0 · 3 reviews - Awesome Scavenger Hunt: Seattle By The Sound
★ 3.5 · 3 reviews
Seattle Cooking & Craft Classes, side by side.
 ★ 4.5Mad Scientist Drink Fusion Lab, A Mocktail Focused WorkshopFrom $9917 reviews
 ★ 5.0Hands on Sushi Rolls classFrom $12516 reviews
 ★ 5.0Authentic Italian Cooking Class in Seattle (5-Course Meal)From $1297 reviews
 ★ 5.0Private Seattle Cooking Class with a Chef in Her HomeFrom $1986 reviews
90-Minutes of Pottery FunFrom $796 reviews
 ★ 5.0Stained Glass Magic Class in EverettFrom $894 reviews
 ★ 5.0Seattle Hands On Cocktail ClassFrom $1254 reviews
 ★ 5.0Private Vacation Photography Session with Photographer in SeattleFrom $3253 reviews
Seattle pages with this tour